

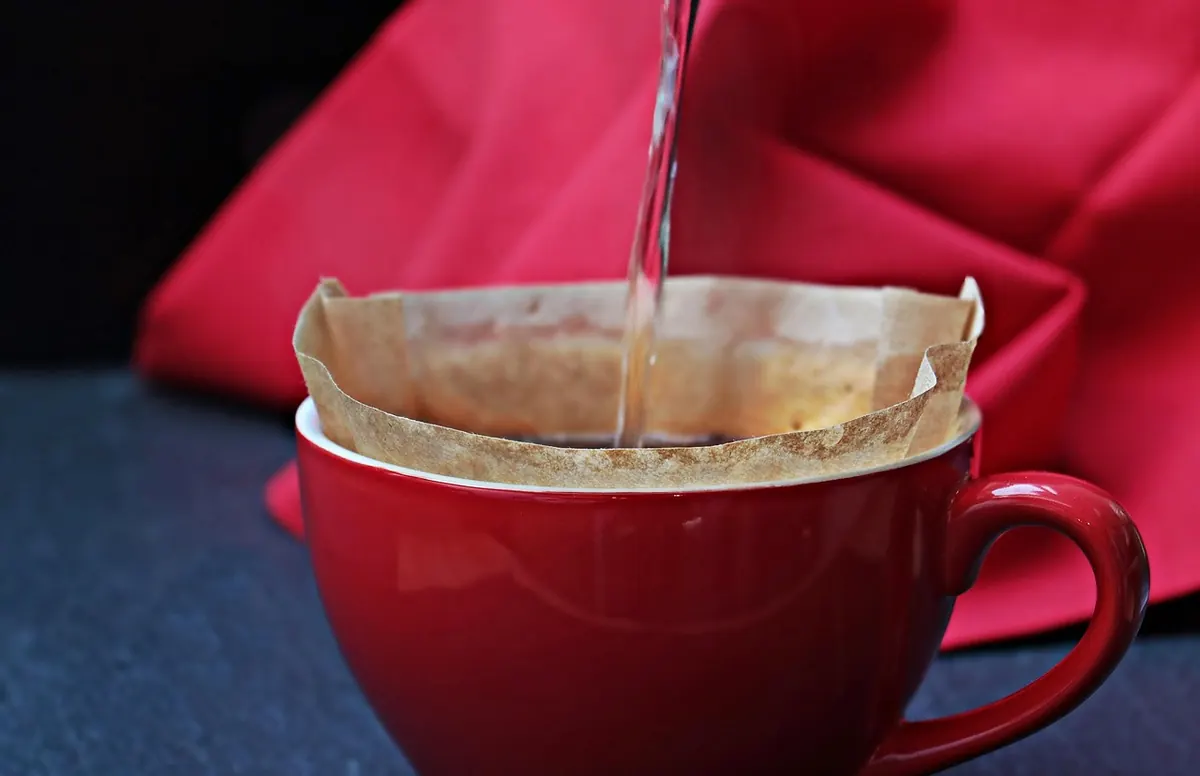
Pour-over coffee has a fussy reputation, and it is not entirely deserved. At its core it is a cone, a paper filter, a kettle, and a few minutes of your morning. What it gives you in return is control: you decide how much coffee goes in, how hot the water is, and how fast it arrives. That is why the same bag of beans can taste flat one day and vivid the next. The method below is the one worth learning first — simple, repeatable, and forgiving enough to survive a sleepy Tuesday.
What You Actually Need
You do not need a shelf of equipment. A basic setup costs less than a few weeks of café coffee and lasts for years.
- A cone dripper. A V60, Kalita Wave, or plain Melitta-style cone all work. The differences matter once you are chasing the last five percent of quality, not while you are learning.
- Paper filters sized to your dripper. Bleached or unbleached is a preference; rinse either one before brewing.
- A kettle. A gooseneck spout gives you better control, but a normal kettle poured slowly is fine. You are not being graded.
- A scale that reads grams. This is the one piece of gear worth insisting on. Scoops vary wildly; grams do not.
- A grinder. A burr grinder, hand-cranked or electric, beats a blade grinder because it produces even particles. If a blade grinder is what you have, use it — just expect a little more silt and a slightly muddier cup.
- Fresh whole beans and something to drink from.
The Two Numbers That Matter Most
Most pour-over problems come down to ratio and grind. Get these roughly right and everything else is fine-tuning.
Ratio: 1:16. That means one gram of coffee for every sixteen grams of water. For a generous single mug, weigh 20 grams of coffee and plan on 320 grams of water. The brewed coffee will land near 280 to 300 grams once the grounds have absorbed their share. If you like a heavier cup, move toward 1:15. If you want something lighter and more tea-like, try 1:17.
Grind: medium-fine, like table salt. Think slightly finer than what you would use in a drip machine, coarser than espresso. The exact setting depends on your grinder, and the useful test is the cup itself, not the number on the dial. Sour, thin, and quick to drain usually means grind finer. Harsh, drying, and slow to drain usually means grind coarser.
Change one variable at a time, or you will never know what fixed it.
The Brew, Step by Step
Total time is about three and a half minutes, most of which is waiting. Read through once before you start so you are not scanning mid-pour.
- Heat your water. Aim for just off the boil, roughly 93°C / 200°F. If your kettle has no temperature control, boil it and let it sit for thirty seconds while you set up.
- Rinse the filter. Put the filter in the dripper, set the dripper on your mug, and pour hot water through it. This removes papery taste and warms the mug. Dump the rinse water out.
- Weigh and grind. Weigh 20 grams of coffee, grind it medium-fine, and add it to the filter. Give the dripper a gentle shake so the bed sits level.
- Start the timer and bloom. Pour about 50 grams of water, just enough to saturate every ground. Wait 30 to 45 seconds. The bed will puff and bubble as trapped gas escapes. This step is why the coffee tastes sweeter a moment later.
- Pour to 150 grams. At around 45 seconds, pour in slow circles from the center outward, avoiding the paper walls. Reach 150 grams by about 1:00.
- Pour to 320 grams. Pause briefly, then continue in the same slow spiral, finishing the second pour by roughly 2:00 to 2:15. Keep the water level steady rather than letting it drain and refilling in bursts.
- Let it drain. The bed should finish dripping somewhere between 2:45 and 3:30. If it is still pooling at four minutes, your grind is too fine or your pour was too aggressive.
- Serve. Lift the dripper off, give the mug a swirl to mix the layers, and taste it while it is hot.
Reading the Cup: What to Change Next Time
You now have a baseline. The next few brews are about moving one dial at a time.
- Thin, sour, lemony finish? The water moved through too fast and under-extracted the coffee. Grind finer by a small step.
- Bitter, drying, harsh aftertaste? The opposite: over-extraction. Grind coarser, or pour a little more gently.
- Weak but not sour? Your ratio is too wide. Keep the water the same and add a gram or two of coffee.
- Too intense? Add water to the mug after brewing instead of changing the ratio mid-brew. That keeps the extraction the same and just softens the strength.
- Inconsistent from day to day? Weigh everything and keep your pours at the same pace. Consistency is a habit, not a talent.
Small Habits That Improve Every Cup
- Grind right before brewing. Ground coffee stales in minutes, not days.
- Buy beans with a roast date and use them within a few weeks. Supermarket bags with only a best-before date give you no useful information.
- Start with water you would happily drink. If the tap water tastes of chlorine, the coffee will too. Filtered water is an easy upgrade.
- Keep everything warm. A cold mug pulls heat out of a small brew fast.
- Clean the dripper and grinder regularly. Old oils turn rancid and show up in the cup long before you notice the smell.
Your First Week With Pour-Over
Brew the same recipe for five mornings before you change anything. Not because the first cup will be perfect, but because repetition is how you learn what your own hands are doing. Keep a note on your phone: the coffee, the grind setting, the time it took to drain, and one word for how it tasted. Within a week, patterns appear, and adjusting becomes obvious rather than mysterious.
After that, experiment freely — a different dripper, a slower pour, a coarser grind for a darker roast. The recipe above is a starting point, not a rule. When you find the version you keep returning to, that is your recipe.
Photo: NoName_13 / Pixabay